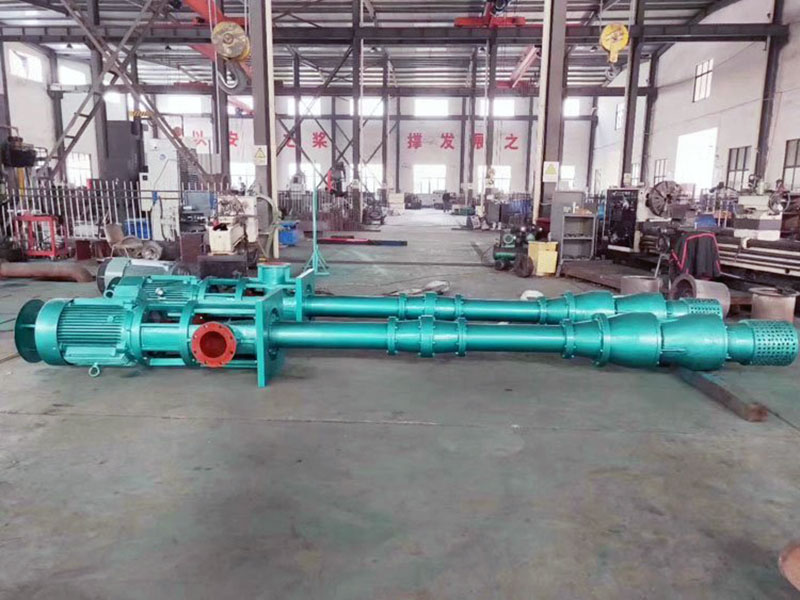

Classification of stainless steel submerged pumps can be divided into two types: new type, suitable for conveying flammable and explosive lightweight materials, with features such as maintenance-free, zero zone use, and low energy consumption; submerged pump, suitable for conveying unclean liquids with solid particles and short fibers, with features such as clog-free and high-temperature resistance.
Disassembly and assembly steps of stainless steel submerged pump:
- If the impeller needs to be replaced or checked, close the outlet valve, remove the flange connection bolts and bottom plate connection bolts, and lift the pump out of the container using a hoisting tool.
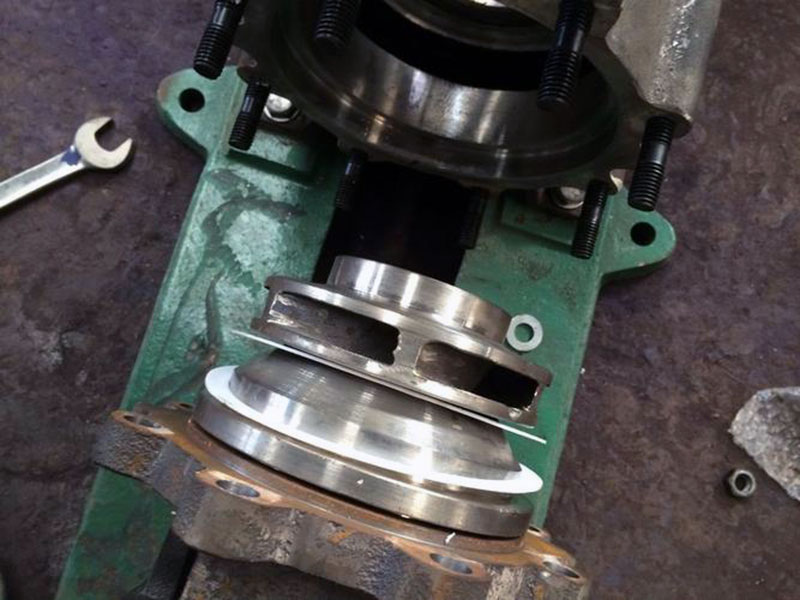
- Place the bottom plate vertically on a fixed bracket, remove all bolts of the pump body, remove the pump cover and impeller nut, tap the pump body lightly with a hammer, and the impeller can be removed.
- To replace the flow bearing, the bottom plate remains in place. Simply remove the motor and corresponding brackets, remove the pump coupling, pressure cover, and circular nut, and take out the shaft sleeve.
- The assembly sequence is the opposite of disassembly. Pay attention to the concentricity of the parts on the shaft.
Installation and use steps of stainless steel submerged pump:
- After the pump is assembled, rotate the coupling to see if it rotates flexibly. Check for metal friction noise and whether all component nuts are tightened.
- Check the concentricity of the pump shaft and motor shaft. The left and right differences between the outer circles of the upper and lower couplings should not exceed 0.1mm, and the end face gap of the coupling should be 1-2.5mm.
- The distance between the pump suction port and the container bottom should be 2-3 times the diameter of the suction port. The distance between the pump body and the wall should be more than 2.5 times the diameter.
- The outlet pipeline of the pump should be supported by a separate bracket, and its weight should not be supported on the pump.
- Check the rotation direction of the motor and make sure the pump’s rotation direction matches the indicated direction.
- Close the gate valve on the outlet pipeline and connect the cooling water pipe.
- Start the motor and slowly open the outlet gate valve to the required position, and then put it into normal operation.
- Regularly check the condition of the pump and motor. The temperature rise of the bearings should not exceed 75℃, and sufficient grease should be added to the bearing box.